


If you’re beginning your journey in carpentry, there are several essentials you’ll need to learn. One of these XYZ’s is to cut a square hole in wood. Due to the significance of these joints in nearly any project, we’ll assist you out with this clear guide. You can check the most affordable and functional routers at Best CNC Router and CNC Hobby Router for Wood Carving.
Security Measures
Before start working, be sure of these security measures:
- Safety goggles are a must-have before utilizing any kind of power tools
- You should work outdoor or the working space should be with great ventilation
- Every tool utilizes in this process comes with instructions make sure to read and follow these instructions very well
- Wear your defensive work dress (closed shoes, dust mask, gloves, apron etc.) Ensure that the cutting instruments have a sharp edge
While carpentry you have to be more focused on your work to avoid mistakes. Because at the end when you are done with your work you will find the mistake which you had while taking measurements.
Instruments Needed

There are some things you’ll be working with other than the cutting instruments. These instruments for making holes will vary concurring to the cutting strategy you’ll be utilizing. We’ll list the other tools you ought to make a perfect square hole in wood.
- Jigsaw
- Power drill
- Large drill bit
- A pencil and a measuring tape
- A square frame
- A Router Edge Guide
- Woodworking gloves
- Sandpaper and to finish up you will need an oscillating tool
Step I: Measuring and Marking

Firstly mark the square shape on the wood that you are going to cut by measuring the exact measurements on the backside of the wood you’ll be cutting.
Depending on your design, you ought to take very precise estimations to guarantee that your hole is found precisely where it has to be.
First, you’ll want to outline the measurements for your square, so you know how huge the hole should be. Next, utilize your square and carpenter’s pencil to map out your square within the wood. You need to allow yourself a dark, thick line as a guideline for your cutting afterward, so it can be accommodating to form a few passes with the pencil or to utilize a permanent marker instep.
Step II: Making the Pilot Hole

Before you’ll start your cut with the jigsaw, you’ll want to utilize your drill to make a pilot hole from which you’ll start your cut.
The bit you utilize isn’t of many results here; you only need to make sure that it’s huge enough for your jigsaw edge to fit through.
When boring the pilot hole, the hole itself mustn’t project the exterior of the lines you’ve marked for your square. That way, I never ought to stress about my pilot hole finishing up the exterior lines of my square.
Step III: Piercing Out the Four-sided Square

Along with your pilot fissure penetration, you’re organized to incise out your square. Earlier you start waged with any control saw, make beyond any distrust, you’re taking suitable security procedures and trying apt sanctuary adjustments, like spectacles and work ornaments.
Place the verge of the jigsaw inside the pilot gap you’ve tired. Turn the saw on and start to take next the line you’ve tracked for your square.
Cut to the inner of the line you’ve squared, not the exterior. Afterwards, if you discover that the square could be a bit as well as little, you’ll be able to endlessly spread it utilizing sandpaper, a record, or a wavering apparatus. In the meantime, if you cut to the exterior of the line, and you conclude up with a square that’s as well expansive, there’s nothing you’ll do to cure that circumstance other than beginning over from scrape.
Step IV: Cleaning Up Your Work
With the square cut out of the wood, it’s time for you to clean up your work. Depending on how well you handle a jigsaw, you’ll not have much wrapping up work to do at all. But, in case you’re like me, you’ll probably discover several spots that may utilize a bit of additional attention. To begin with, the thing you’ll need to do is make a record and evacuate any unpleasant spots inside the square you’ve cut. Be beyond any doubt to work gradually and carefully to guarantee simply don’t conclude up sanding absent as well as much wood.
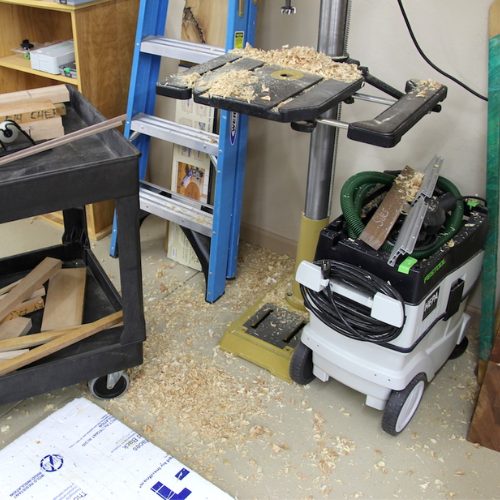
Once you’re satisfied with the look of your square, you’ll want to wrap up off the job with sandpaper to create your square pleasantly and smooth. Rehash this preparation many more times, each time with the next coarseness paper. You may also use dust collectors to clean up the wood debris from your shop.
A video illustration below will further help you in visualizing the concept.
Conclusion
To ace carpentry, you must know how to cut square holes in the wood. You’ll be able to accomplish this by employing a palm router, a saw, and chisel, or a drill too. Remember to wear your defensive work dress to remain secure from wood particles and clean yourself properly. With sufficient rehearsal and assurance, you’ll be able to do it with more exactness, and ease. You definitely need to go through another guide if you want to learn how to cut channel in wood.


